How to create an IAM group
Step-by-Step Guide: Creating an IAM Group in AWS


Introduction:
IAM (Identity and Access Management) groups in AWS allow you to group users and manage their permissions collectively, simplifying access control and policy management. In this step-by-step guide, we will walk you through the process of creating an IAM group in AWS.
Prerequisites:
An AWS account with administrative access.
Familiarity with AWS Management Console.
Step 1: Sign in to the AWS Management Console
Go to the AWS Management Console (https://console.aws.amazon.com) and sign in using your AWS account credentials. Search for "IAM" in the AWS Management Console search bar and select the IAM service from the results. In the IAM console, on the left-hand side, click on "User Groups" under the "Access Management" section. This will display a list of existing IAM groups in your account.
Step 2: Create a New Group
Click on the "Create new group" button located at the top. In the "Group name" field, provide a name that describes the purpose or role of the group. It is recommended to use a descriptive and meaningful name. You can also select the users you want to add if you have created previously.

Step 3: Attach Policies to the Group
In this step, you can attach one or more policies to the group. Policies define the permissions and access levels the group members will have. You can choose from AWS managed policies, customer-managed policies, or inline policies.
AWS Managed Policies: Select one or more existing AWS managed policies from the list that align with the desired permissions for the group.
Customer-Managed Policies: Create a new customer-managed policy specifically for the group by clicking on the "Create policy" button. Define the policy using the JSON policy language and specify the required permissions.
Inline Policies: If you want to attach a policy directly to the group, click on the "Create policy" button in the "Create group" page. Provide a name for the policy and define the policy using the JSON policy language.
I will be giving the group administrator access (AWS managed policies) which enables the users to perform any action on my AWS account. You can type admin to filter the list and select “AdministratorAccess”.
Step 4: Review and Create the Group
Review the group details, including the group name and attached policies. Ensure that everything is accurate and reflects the intended permissions for the group. Click on the "Create group" button to create the IAM group.

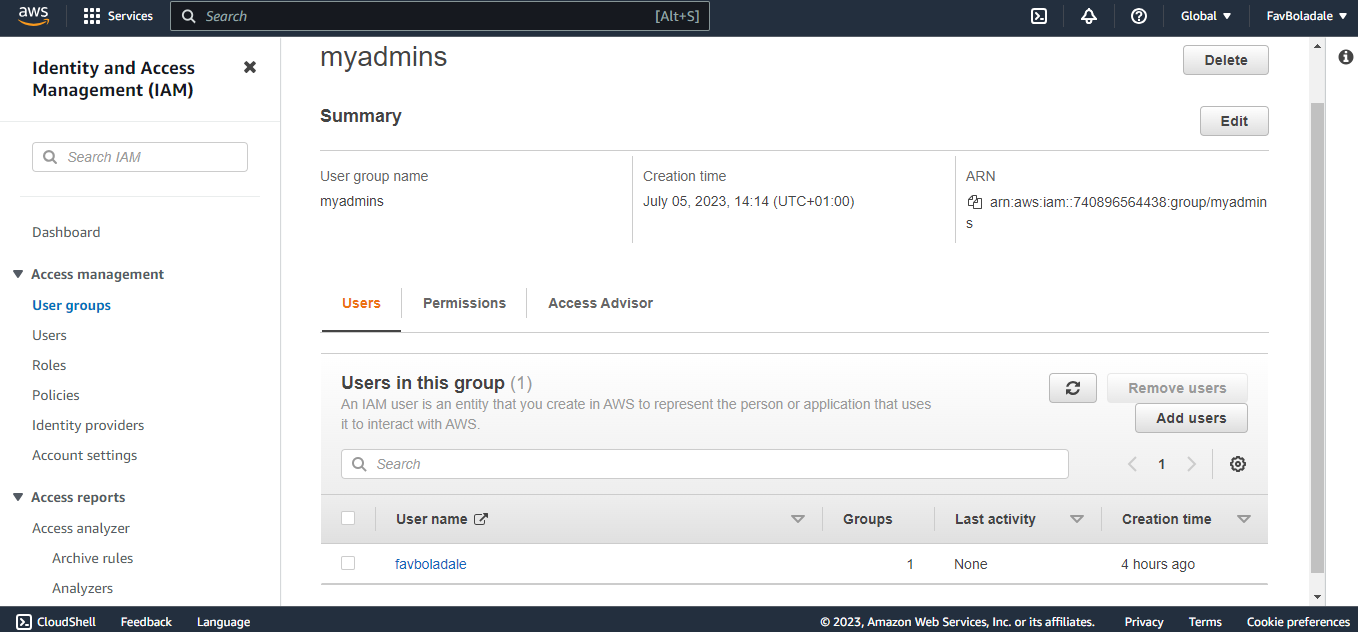
Step 5: Verify Group Creation
Once the group is created, you can see it listed in the IAM console's "Groups" section. You can click on the group name to view its details, including the attached policies and the list of group members.
Conclusion:
IAM groups in AWS provide a convenient way to manage and assign permissions to a collection of users. By following the step-by-step instructions outlined in this guide, you can easily create an IAM group, attach policies, and manage user access with ease. Leveraging IAM groups enhances security, simplifies permission management, and promotes efficient access control within your AWS environment.
To learn more about best practices and strategies to secure your cloud resources, implement identity and access management (IAM) policies, set up network security controls, and comply with industry standards and regulations, check out other blog posts I have on AWS IAM.
AWS IAM: Strengthening Security and Access Control in the Cloud
How to Create an IAM User and Add MFA
How to Create IAM Roles in AWS
How to Limit a User's Access Using the AWS IAM
Remember to subscribe to stay updated with the latest posts, and feel free to share your favorite blog posts with friends and family who crave engaging and enriching content. Happy reading!